Classic Crochet Granny Square: Free Beginner Pattern
Soft wool loops hook together to form a light, squishy fabric that feels substantial in your hands. This square acts as a flexible unit for blankets, sweaters, or small gift bags, offering a reliable way to practice basic stitch placement. You will appreciate the physical rhythm of the yarn moving through your fingers as the piece grows round by round. This project helps you master the basic cluster technique while providing a reliable way to use up leftover materials. Whether you are a beginner or someone who enjoys meditative, repetitive tasks, this guide walks you through every necessary movement for a neat result.
Why You’ll Love This Pattern
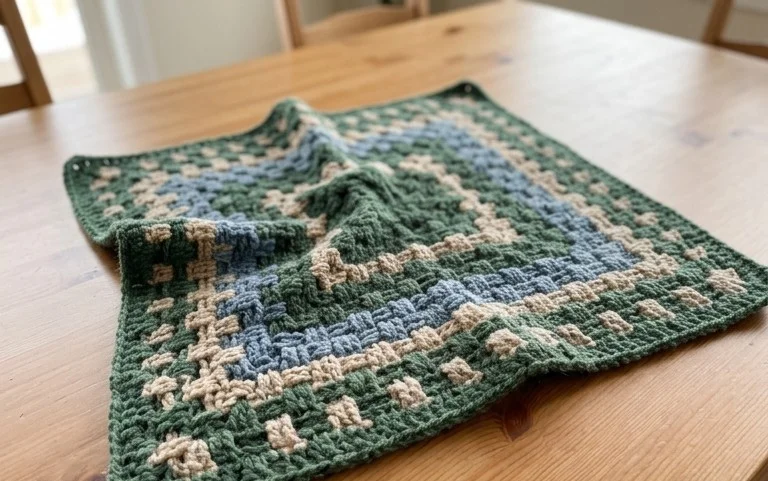
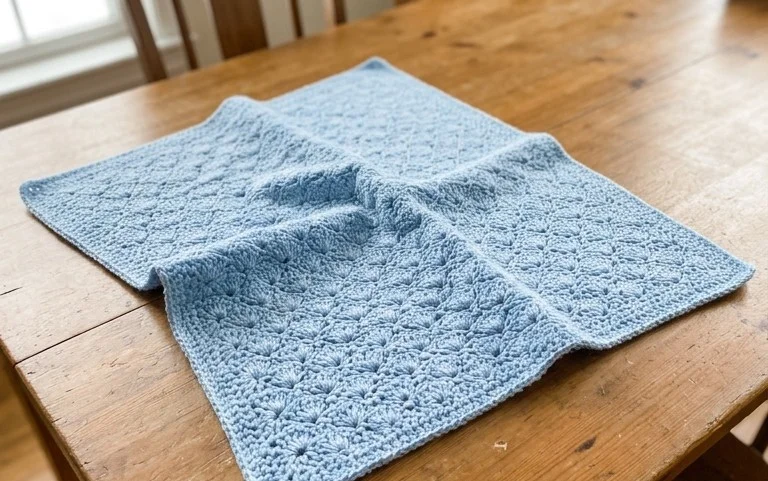
The Classic Crochet Granny Square is the quintessential building block for fiber artists because it balances simplicity with endless versatility. This pattern relies on a repeating sequence of double crochet clusters and chain spaces, making it a meditative project that is easy to pick up and put down. Beginners appreciate the rhythmic nature of the stitches, while experienced crocheters value how quickly these squares accumulate for larger blankets, tote bags, or cardigans. You can use this pattern to clear out your yarn stash by creating multi-colored squares, or use a single solid color to create a sophisticated, textured look.
I have made dozens of these for a scrap-yarn afghan and the instructions are incredibly clear for keeping the corners sharp and the center tight.
— Sarah, long-time crafter
Pattern Overview & Skill Level
- Skill Level: Beginner
- Approximate Time: 30 to 45 minutes per square
- Construction: Worked in joined rounds, starting from the center and moving outward.
- Finished Dimensions & Sizing: Approximately 6 inches by 6 inches when using worsted weight yarn and a 5.0 mm hook.
Materials & Supplies Needed
- Yarn: Worsted weight (#4), 100% wool or an acrylic blend, approximately 20 yards per square.
- Hook Size: 5.0 mm (H-8).
- Notions needed: Tapestry needle for weaving ends, sharp scissors.
- Safe yarn substitutions: You can use DK weight yarn for a smaller, delicate square, but you will need to increase the number of rounds to reach your desired size. Using bulky yarn will result in a much larger, thicker square that works well for chunky throw pillows.
Stitch Guide & Abbreviations (US Terms)
- ch = chain
- sl st = slip stitch
- dc = double crochet
- dc cluster = a group of 3 dc stitches worked into the same space
- sp = space
- RS = right side
- MR = magic ring
Step-by-Step Pattern Instructions
- Rnd 1: Start with a MR. Ch 3 (counts as first dc), work 2 dc into the ring. Ch 2, 3 dc into the ring. Ch 2, 3 dc into the ring. Ch 2, 3 dc into the ring. Ch 2, sl st to the top of the beginning ch-3 to join. (12 dc, 4 ch-2 sps)
- Rnd 2: Sl st into the first ch-2 corner sp. Ch 3, (2 dc, ch 2, 3 dc) in same corner sp. Ch 1, (3 dc, ch 2, 3 dc) in next ch-2 sp. Repeat from * to * two more times. Ch 1, sl st to the top of beginning ch-3. (24 dc, 4 ch-2 sps, 4 ch-1 sps)
- Rnd 3: Sl st into the first ch-2 corner sp. Ch 3, (2 dc, ch 2, 3 dc) in same corner sp. Ch 1, 3 dc in next ch-1 sp, ch 1, (3 dc, ch 2, 3 dc) in next corner sp. Repeat from * to * two more times. Ch 1, 3 dc in last ch-1 sp, ch 1, sl st to the top of beginning ch-3. (36 dc, 4 ch-2 sps, 8 ch-1 sps)
- Rnd 4: Sl st into the first ch-2 corner sp. Ch 3, (2 dc, ch 2, 3 dc) in same corner sp. Ch 1, (3 dc in next ch-1 sp, ch 1) across to corner, (3 dc, ch 2, 3 dc) in next corner. Repeat from * to * two more times. Ch 1, 3 dc in each remaining ch-1 sp, ch 1, sl st to the top of beginning ch-3. (48 dc, 4 ch-2 sps, 12 ch-1 sps)
Finishing
Fasten off the yarn, leaving a 6-inch tail. Pull the tail through the final loop and pull tight. Use a tapestry needle to weave the yarn tail through the back loops of the stitches on the reverse side of the square. Trim any excess yarn close to the fabric.
Care & Washing Instructions
- Hand wash your finished items in cool water with a gentle wool-safe detergent.
- Lay the squares flat on a clean towel and reshape them while damp to ensure the edges remain straight.
- Avoid using a tumble dryer, as heat can cause the yarn to felt or lose its stitch definition.
Pro Tips & Common Mistakes to Avoid
Maintaining consistent tension is the most important factor in ensuring your squares are the same size. If your stitches feel too tight, go up a half-hook size, or if they look loose and gappy, move down a size. Always place a stitch marker in the first chain of your round so you can easily identify where to join with your slip stitch. When weaving in ends, follow the path of the yarn in the back of the work to keep the join invisible. To adjust the size, simply continue repeating Round 4, adding one extra cluster of 3 dc in each side section for every round you add.
Frequently Asked Questions
Can I use cotton yarn instead of wool?
Yes, cotton yarn works beautifully for this pattern and creates a firm, durable square. Note that cotton has less stretch than wool, so your gauge might feel slightly tighter.
How do I change colors for a multi-colored look?
To change colors, complete the last step of the final stitch of a round with the new color. Fasten off the previous color and pull the new color through to complete the join.
Is this pattern suitable for complete beginners?
This is an excellent project for beginners because it focuses on the double crochet stitch and introduces the concept of working into chain spaces rather than individual stitch loops.
Can I sell items made from this pattern?
You are welcome to sell physical items made from this design, provided you credit the pattern origin. Please do not redistribute or sell the pattern text itself.
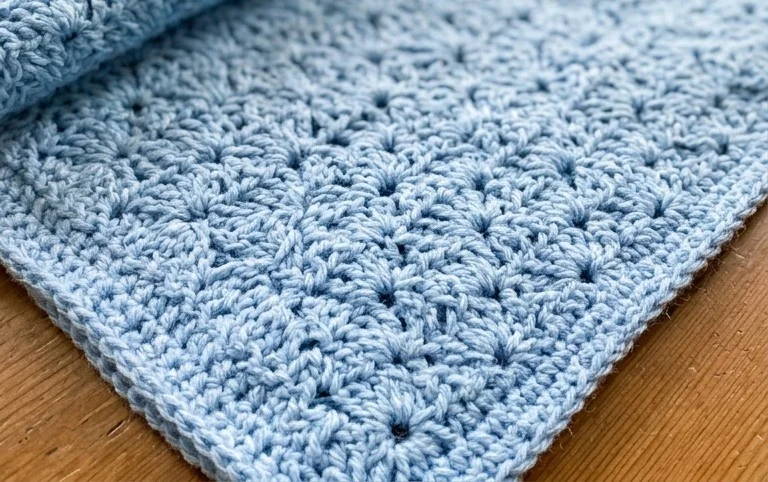
Your finished square looks crisp and tidy, providing a solid foundation for any larger home item you plan to build next. Try swapping the yarn for a mercerized cotton to create a stiffer, flatter look that works well for coasters or table decor. Once your first block is finished, share a photo of your color combination on your favorite social media platform so others can see your work. Feel free to browse the rest of the blog for more patterns that use this same building technique.