Easy Crochet Winter Hat: Beginner-Friendly Free Pattern
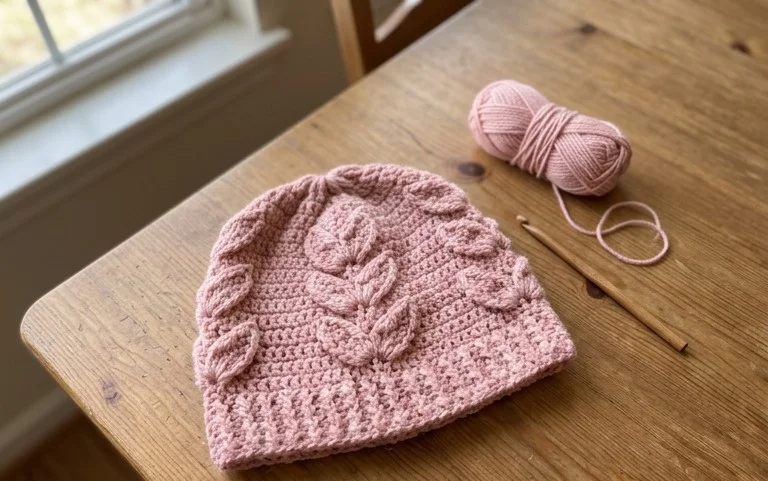
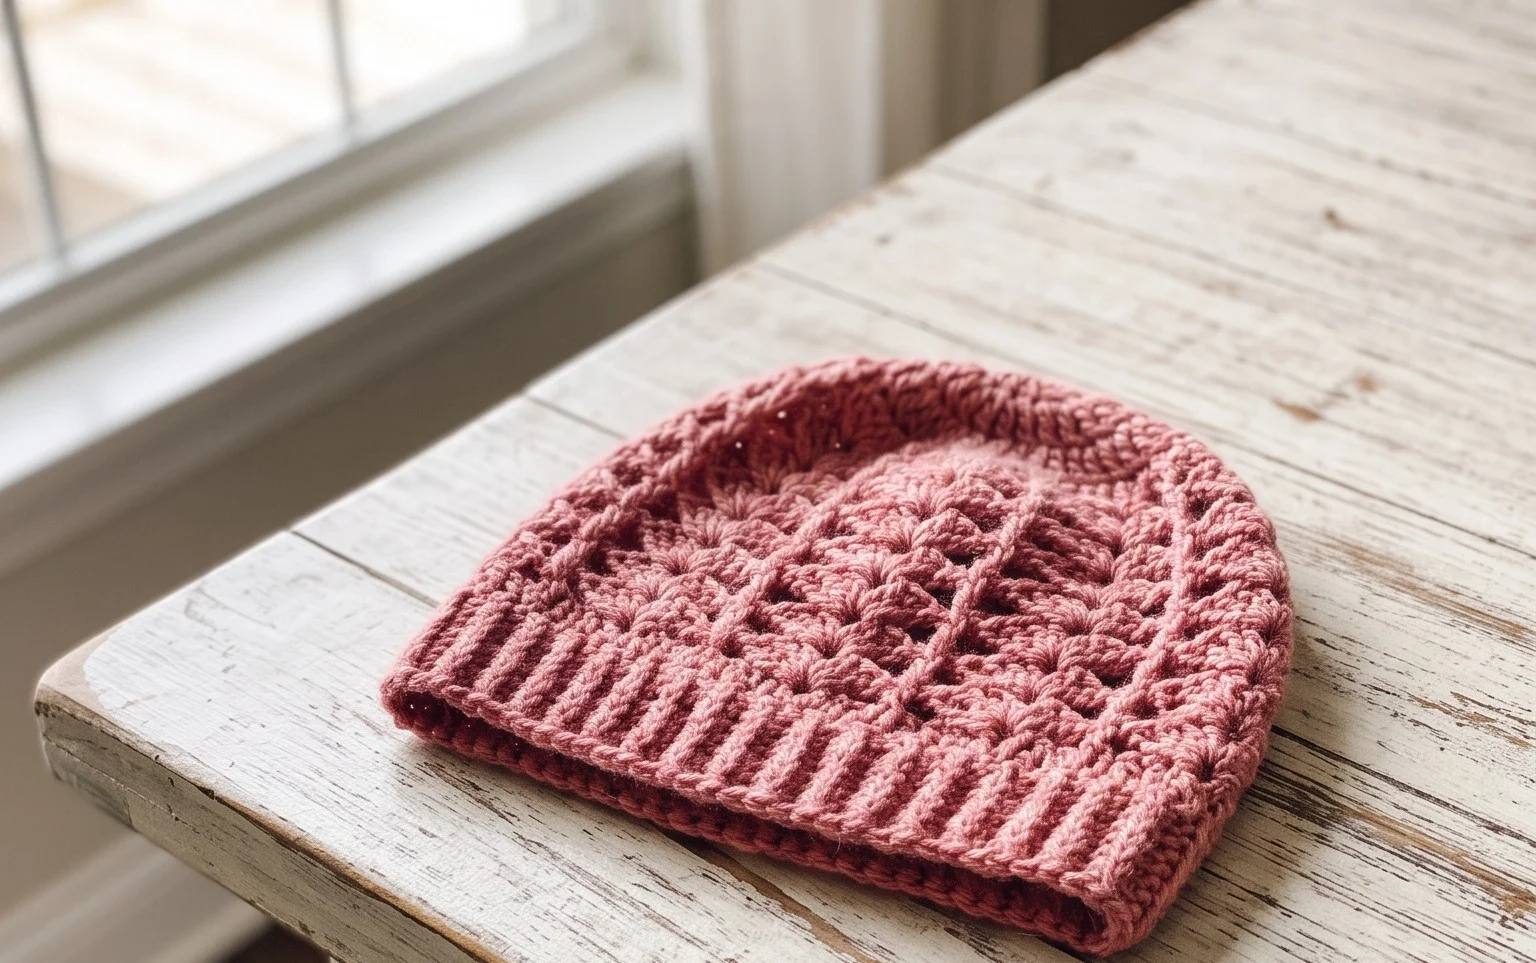
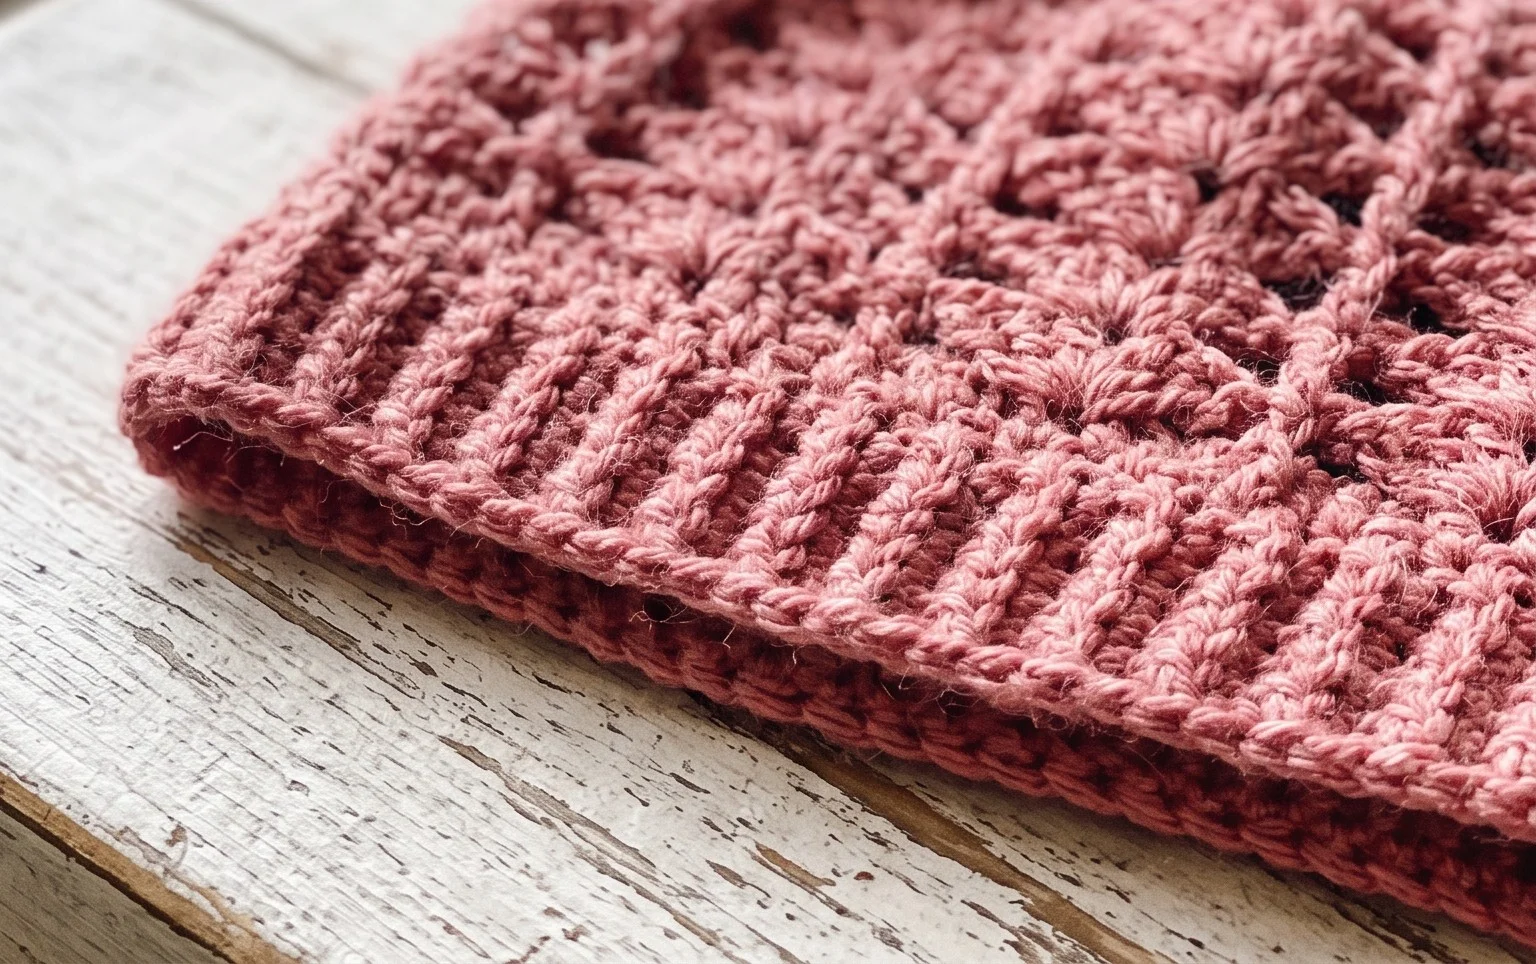
This ribbed beanie features a soft, squishy texture that mimics classic knit fabric, providing a cozy layer for chilly morning walks. The construction relies on simple rows of back loop only single crochet stitches, which makes it accessible for anyone just starting their journey with a hook and yarn. You work a flat rectangle that folds into a structured shape, skipping all those fiddly crown decreases that often frustrate beginners. It is a relaxing project that grows quickly in your hands, offering a tactile rhythm that clears the mind while you produce a functional accessory for yourself or a loved one.
Why You’ll Love This Pattern
This crochet ribbed beanie pattern uses a simple rectangular construction that eliminates the need for complex crown shaping or constant increases. Because you work the fabric back and forth in rows, the resulting texture has an excellent stretch and a classic knit-look appearance. It is an ideal project for those using a single skein of yarn, making it a budget-friendly option for handmade gifts. The rhythmic nature of working back loop only stitches creates a meditative experience suitable for watching a movie or listening to a podcast while you work.
I finished this hat in one evening while watching a show. The ribbing is stretchy and fits perfectly without being too tight on the forehead.
— Sarah, hobbyist crocheter
Pattern Overview & Skill Level
- Skill Level: Beginner
- Approximate Time: 3 to 4 hours
- Construction: Flat rectangle worked in rows, seamed at the side, and gathered at the top
- Finished Dimensions: 18 inches circumference (unstretched), 9 inches height
Materials & Supplies Needed
- Yarn: Worsted weight (#4), wool or acrylic blend, approximately 200 yards
- Hook Size: 5.0 mm / H-8
- Notions: Tapestry needle, locking stitch marker, scissors
- Safe yarn substitutions: Cotton yarn will provide a heavier, less stretchy hat, while alpaca blends will offer significant warmth and extra drape. Keep in mind that fiber choice changes the overall elasticity of the final piece.
Stitch Guide & Abbreviations (US Terms)
- ch = chain
- sc = single crochet
- BLO = back loop only
- sl st = slip stitch
- st(s) = stitch(es)
- BLO technique: Insert your hook into the back loop of the stitch only, rather than under both loops, to create the ridges.
Step-by-Step Pattern Instructions
Main Body
The beanie is worked as a flat rectangle. The number of chains determines the height of the hat; you can add or subtract chains here if you prefer a slouchier or shorter fit.
- Row 1: Ch 41. Sc in the second ch from hook and in each ch across. Ch 1, turn. (40 sts)
- Row 2: Sc in BLO of each st across until the end of the row. Ch 1, turn. (40 sts)
- Rows 3 to 60: Repeat Row 2 until the piece measures approximately 18 inches long when slightly stretched. Do not fasten off after the final row. (40 sts)
Assembly
Fold the rectangle in half so the two short ends meet, matching the stitches from the foundation chain to the final row. Join the edges using slip stitches or a tapestry needle to create a tube. Fasten off, leaving a 12-inch long yarn tail. Thread the tapestry needle with the tail and weave it in and out of the edge of the tube, pulling tight to cinch the top of the hat closed. Secure the yarn with a knot on the inside and weave in all remaining ends.
Care & Washing Instructions
- Hand wash the finished hat in cool water using a mild wool-safe detergent to preserve the yarn integrity.
- Lay the piece flat on a clean towel, reshaping it to its original dimensions, and allow it to air dry away from direct heat sources.
- Avoid using a tumble dryer, as heat can cause synthetic fibers to lose their shape and natural fibers to shrink or felt.
Pro Tips & Common Mistakes to Avoid
Maintaining consistent tension is essential for a professional look. If your stitches are too tight, the fabric will be stiff and lose its signature stretch. When working in the back loop, pull your working yarn slightly snug after each stitch to keep the ribbing uniform. Use a stitch marker at the end of every row to ensure you do not accidentally drop the final stitch, which is a common error that leads to an uneven edge. If you wish to change the size, adding more rows will increase the circumference of the beanie, though you will need an extra 20 to 30 yards of yarn to account for the additional material.
Frequently Asked Questions
Can I substitute a different yarn weight for this pattern?
Changing to a different weight, such as bulky or light weight, will significantly alter the gauge and dimensions of the finished hat. If you choose a different weight, you will need to adjust your starting chain length and the number of rows worked to meet your desired measurements.
Is this project suitable for someone who has never crocheted before?
Yes, this is an excellent starter project because it only requires the single crochet stitch and the back loop only technique. It focuses on maintaining a straight edge and consistent tension, which are the fundamental skills needed for more advanced garment making.
How do I adjust the hat if I want it to be slouchier?
To create a slouchy fit, increase the number of starting chains to make the hat taller. To increase the circumference for a larger head size, simply work additional rows until the rectangle reaches your desired length before seaming.
Are there restrictions on selling items made from this pattern?
You are welcome to sell finished items created from this pattern. However, you must credit the designer and use your own photographs for marketing. Mass production or commercial manufacturing of this pattern is not permitted.
Your finished hat serves as a reliable staple for cold days, offering both warmth and a clean, handmade aesthetic. You can experiment with bulky weight yarn for a faster version or add a faux fur pompom to give the top a bit of personality. Please tag your finished photos online so others can see how your color choices turned out, as I love seeing these hats in different shades. You will find more designs for winter accessories and home goods by browsing through the archives on my blog.