Easy Crochet Granny Square Pattern: Step-by-Step Guide
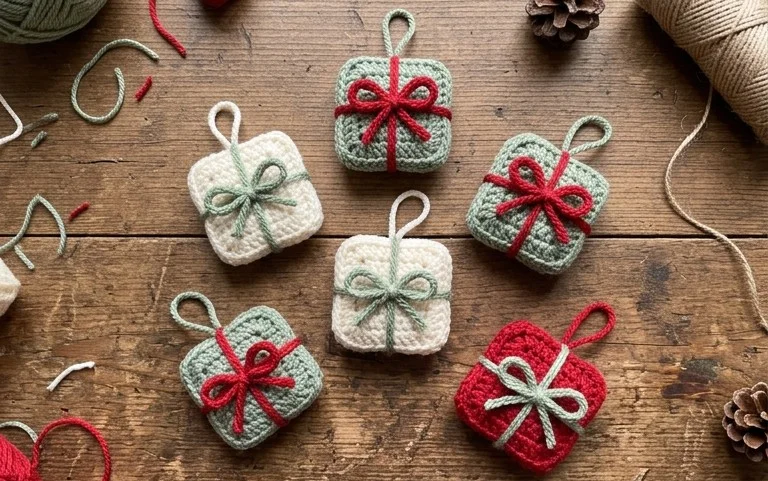
These soft yarn squares feature a playful apple and beaver design that adds a whimsical touch to any nursery or child’s room. Measuring exactly five inches, each piece feels squishy and substantial, providing a sturdy texture that holds its shape well after repeated use. Beginners appreciate how the standard granny square structure allows for steady progress while learning to control tension without the stress of complicated shaping. You will focus on managing color changes and consistent stitch placement as you bring these motifs to life. Creating a handmade heirloom gift becomes a relaxing evening activity when you follow these clear, straightforward instructions for your next textile project.
Why You’ll Love This Pattern
The Classic Crochet Granny Square is the quintessential building block for fiber artists because it balances simplicity with endless versatility. This pattern relies on basic stitches and a repetitive structure, making it ideal for practicing tension control while creating a functional fabric. Because you work in clusters within the spaces created by previous rounds, your hands find a natural rhythm that prevents fatigue during longer sessions. It is the perfect stash-buster project, as each square requires only a few yards of yarn, allowing you to use up partial skeins left over from larger garments. You can join these squares to form blankets, tote bags, or even clothing, providing a scalable path from a small experiment to a major heirloom piece.
I finally mastered the transition between corners and sides using this clear set of instructions, and my squares are now perfectly flat instead of ruffled.
— Sarah, intermediate crocheter
Pattern Overview & Skill Level
- Skill Level: Beginner
- Approximate Time: 30 minutes per square
- Construction: Working in continuous rounds starting from a center ring
- Finished Dimensions: Approximately 5 inches by 5 inches using medium weight yarn
Materials & Supplies Needed
- Yarn: Worsted weight #4, 100% acrylic or wool blend, approximately 15-20 yards per square.
- Hook Size: 5.0 mm / H-8
- Notions: Tapestry needle for weaving ends, sharp scissors.
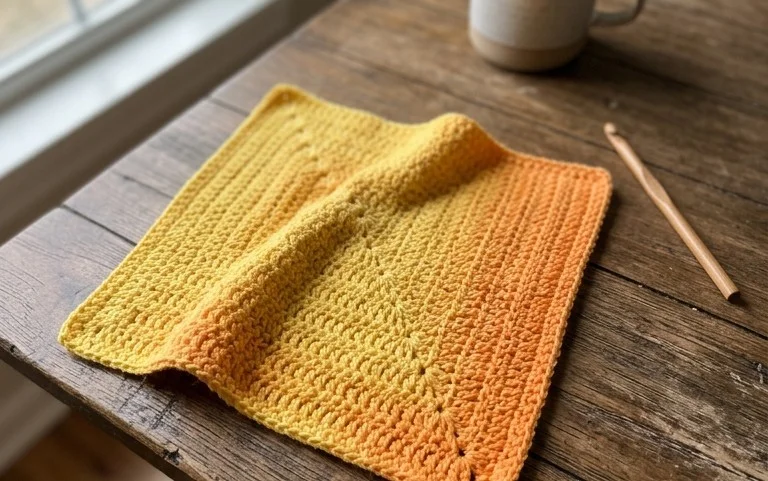
- Yarn substitutions: Cotton yarn will produce a stiffer, more defined square that is excellent for dishcloths or coasters, while wool will provide more drape and softness for blankets. Lighter weight yarns will result in smaller dimensions unless you adjust the hook size and add extra rounds.
Stitch Guide & Abbreviations (US Terms)
- ch: Chain
- st: Stitch
- sl st: Slip stitch
- dc: Double crochet
- dc-cluster: 3 double crochet stitches worked into the same space
- sp: Space
- MR: Magic Ring
Step-by-Step Pattern Instructions
Center and Foundation
Start by creating a magic ring or chaining 4 and slip stitching into the first chain to form a loop.
- Rnd 1: Ch 3 (counts as first dc here and throughout). Work 2 dc into the ring. Ch 2. *Work 3 dc into the ring, ch 2. Repeat from * 2 more times. Sl st to the top of the initial ch 3 to join. (12 dc, 4 ch-2 spaces)
- Rnd 2: Sl st into the next dc and into the first ch-2 corner space. Ch 3, 2 dc, ch 2, 3 dc all in the same corner space. *Ch 1, skip 3 dc, (3 dc, ch 2, 3 dc) in next corner space. Repeat from * 2 more times. Ch 1, sl st to the top of the initial ch 3. (24 dc, 4 ch-2 corner spaces, 4 ch-1 side spaces)
- Rnd 3: Sl st into the next dc and into the first ch-2 corner space. Ch 3, 2 dc, ch 2, 3 dc in same space. *Ch 1, 3 dc in next ch-1 space, ch 1, (3 dc, ch 2, 3 dc) in next corner space. Repeat from * 2 more times. Ch 1, 3 dc in next ch-1 space, ch 1, sl st to top of initial ch 3. (36 dc, 4 corner spaces, 8 side spaces)
Finishing
Fasten off by cutting the yarn, leaving a 6-inch tail. Pull the tail through the final loop and tighten. Use the tapestry needle to weave the tail through the back of the stitches, traveling in different directions to ensure it remains secure through multiple washings.
Care & Washing Instructions
- Machine wash your finished pieces in cold water on a gentle cycle to prevent felting or fiber distortion.
- Lay the squares flat on a clean towel in a shaded area to air dry, ensuring they retain their square shape.
- Gently steam block or lightly mist with water and pin to a blocking mat if the edges appear curled after assembly.
Pro Tips & Common Mistakes to Avoid
Maintain consistent tension by holding your yarn with light, even pressure, especially during the ch-1 spaces, which tend to become loose if pulled too hard. Place a removable stitch marker in the top of your starting chain at the beginning of every round to easily identify where to join your slip stitch. When weaving in ends, weave them under the stitches of the same color to ensure they remain invisible from the right side of the fabric. To increase the size of the square, simply repeat the pattern of working 3 dc in each side ch-space and (3 dc, ch 2, 3 dc) in each corner space until your desired dimensions are reached; note that each additional round will consume significantly more yarn.
Frequently Asked Questions
Can I use a different hook size than recommended?
Yes, changing your hook size will alter the drape and size of your square. A larger hook creates a looser, lacier texture, while a smaller hook makes the fabric dense and sturdy.
Is this pattern suitable for complete beginners?
This pattern is perfect for beginners because it focuses on the double crochet stitch and introduces the concept of working into spaces rather than individual stitches, which is easier for tracking progress.
How do I join these squares together?
You can join them using a mattress stitch with a tapestry needle for an invisible seam or use a slip stitch join through the back loops only for a raised, decorative ridge.
May I sell items made from this pattern?
You are welcome to sell finished items made from this pattern, provided you credit the original design. Always check the specific terms of the individual designer if you are using this guide as part of a larger collection.
Seeing your stack of finished squares grow into a finished blanket brings a deep sense of accomplishment after a quiet afternoon of crafting. You can swap the traditional apple and beaver color palette for soft pastels or high-contrast neon shades to better suit your home decor style. Sharing a photo of your work on your favorite social media platform helps other crafters find inspiration for their own handmade goods. Please take a moment to look through the rest of the blog for more free patterns to build your collection of handmade supplies.