Easy Crochet Crop Top: Free Step-by-Step Summer Pattern
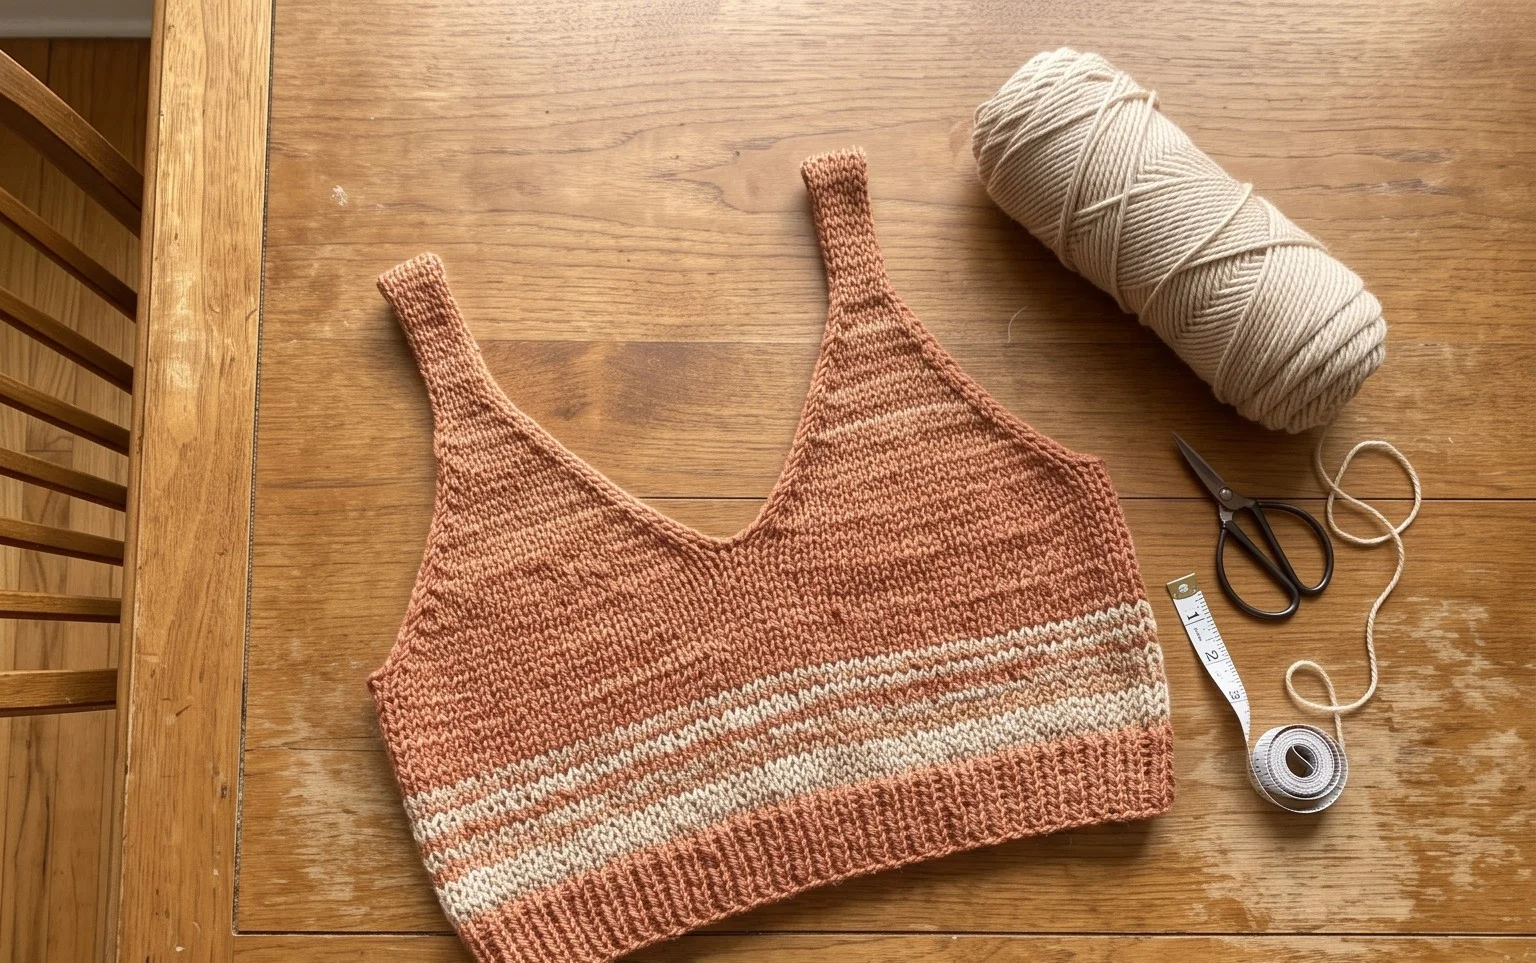
Soft cotton yarn draped against the skin provides a breathable layer for warm afternoons spent outside. These handmade garments feature an airy construction that suits beginners looking for a rewarding project without the complexity of traditional tailoring. You will find that joining simple motifs creates a custom fit that flatters different body types while offering enough structural support to stay in place. This guide focuses on the double crochet stitch, which works up quickly and creates a rhythmic flow to your hand movements. Mastering these basic cycles allows you to build a versatile piece that functions as a lightweight wardrobe staple throughout the hottest months.
Why You’ll Love This Pattern
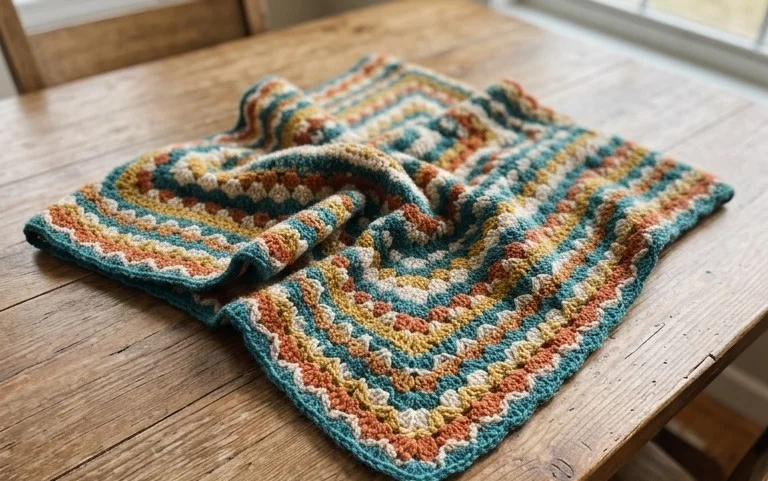
The Classic Crochet Granny Square is the fundamental building block of crochet design. This specific version uses a traditional three-double-crochet cluster technique that keeps the fabric balanced and prevents the corners from curling. You will appreciate how quickly each square grows, making it an ideal way to practice consistent tension. Because this project relies on a repetitive pattern, it is easy to pick up and set down during busy days. Experienced makers often use this pattern to test new color combinations before committing to larger afghans or decorative cushions.
I finally learned to keep my corners flat after years of struggling with my stitch count, and this guide made the process feel completely effortless. It is now my go-to pattern for using up leftover yarn from my larger projects.
— Sarah, hobbyist crafter
Pattern Overview & Skill Level
- Skill Level: Beginner
- Approximate Time: 30 to 45 minutes per square
- Construction: Working in rounds from the center outward
- Finished Dimensions: Approximately 6 inches by 6 inches when using worsted weight yarn
Materials & Supplies Needed
- Yarn: Worsted weight #4, 100% acrylic or wool blend, approximately 20 yards per square.
- Hook Size: 5.0 mm (US H-8).
- Notions: Yarn needle for weaving ends, sharp scissors.
- Safe yarn substitutions: You can use DK weight yarn with a 4.0 mm hook for a smaller, denser square. Using cotton yarn will result in a stiffer texture, which is excellent for coasters or hot pads.
Stitch Guide & Abbreviations (US Terms)
- ch: Chain
- st: Stitch
- sl st: Slip stitch
- dc: Double crochet
- Cluster: A group of 3 dc stitches worked into the same space.
- Corner: (dc 3, ch 2, dc 3) worked into the same ch-space.
Step-by-Step Pattern Instructions
Center and First Rounds
- Foundation: Ch 4, join with a sl st to the first chain to form a ring.
- Rnd 1: Ch 3 (counts as first dc). Work 2 dc into the ring. Ch 2. (Work 3 dc into the ring, ch 2) 3 times. Join with a sl st to the top of the beginning ch-3. (12 dc, 4 ch-spaces)
- Rnd 2: Sl st into the next two sts and into the first ch-2 corner space. Ch 3, (2 dc, ch 2, 3 dc) in the same corner space. Ch 1, skip 3 sts, (3 dc, ch 2, 3 dc) in the next corner space. Repeat from * to * two more times. Ch 1, join with a sl st to the top of the beginning ch-3. (24 dc, 4 ch-spaces)
Expanding the Square
- Rnd 3: Sl st to the corner space. Ch 3, (2 dc, ch 2, 3 dc) in the same space. Ch 1, 3 dc in the next ch-1 side space, ch 1, (3 dc, ch 2, 3 dc) in the next corner space. Repeat from * to * two more times. Ch 1, 3 dc in the last side space, ch 1. Join with a sl st to the top of the beginning ch-3. (36 dc, 8 ch-spaces)
- Rnd 4: Continue in established pattern, working (3 dc, ch 2, 3 dc) in every corner space and 3 dc in every side ch-1 space. Join with a sl st at the end of the round. (48 dc, 12 ch-spaces)
Finishing
Once you reach the desired size, fasten off your yarn, leaving a six-inch tail. Use your yarn needle to weave the tail through the back loops of the stitches on the reverse side of the square to secure it. If you are joining multiple squares, leave a longer tail to use for whip-stitching the panels together.
Care & Washing Instructions
- Machine wash on a gentle cycle in cool water (30°C/86°F) using a mild detergent.
- Lay the square flat on a clean towel to air dry, reshaping it into a perfect square while damp.
- Do not iron directly; instead, use a steam setting to lightly block the edges if the square appears slightly ruffled.
Pro Tips & Common Mistakes to Avoid
Maintain consistent tension by ensuring your yarn tension remains steady throughout each cluster. If you find the square is cupping, your tension is likely too tight; try going up a half-hook size. Use a stitch marker at the beginning of every round to easily identify the starting ch-3, which prevents accidentally adding extra stitches. To adjust the size of the square, simply repeat the pattern of working 3 dc into every side space and corners into the corner spaces until your square meets your preferred measurements.
Frequently Asked Questions
Can I use different weights of yarn for these squares?
Yes, you can use any yarn weight, but you must match your hook size to the recommendation on the yarn label. Note that changing the weight will significantly alter the final dimensions of your finished project.
Is this pattern suitable for someone who has never held a crochet hook?
This pattern is a classic for beginners because it requires mastery of only the chain and double crochet stitches. Take your time with the first round, as the center ring can be small and slightly difficult to navigate at first.
How do I join these squares together into a blanket?
You can join squares using a whip stitch or a single crochet join. The whip stitch creates a flatter, less visible seam, while the single crochet join provides a decorative, raised ridge effect between the squares.
Am I allowed to sell blankets made with this pattern?
You are welcome to sell finished items made from this design. Please credit the designer when listing your items online and use your own original photographs for your shop listings.
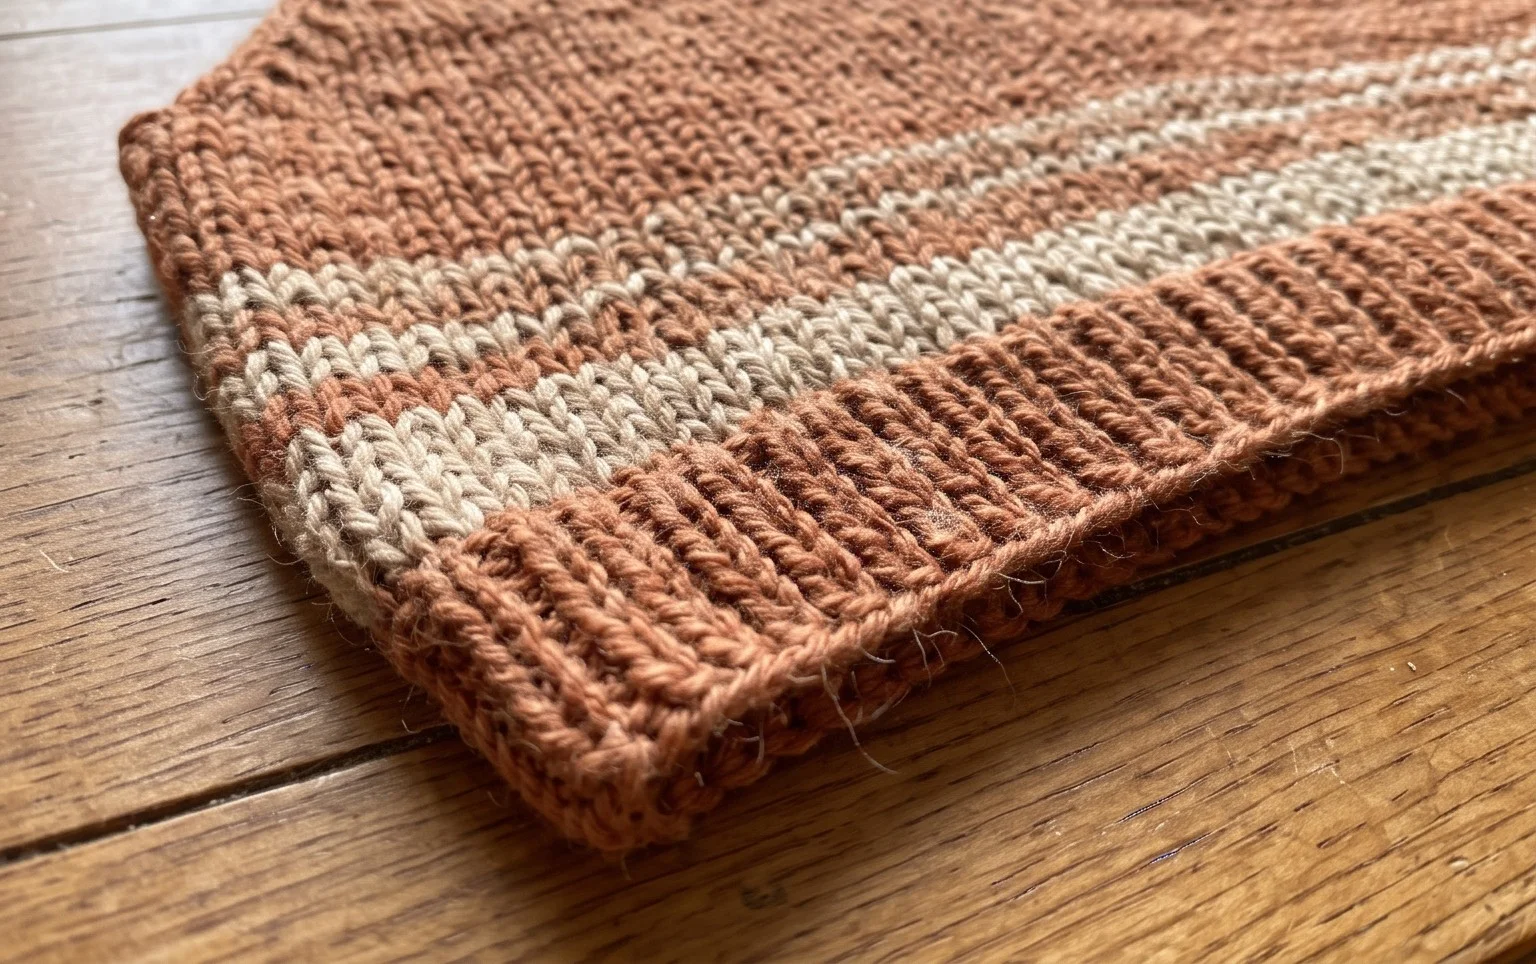
Finishing these straps and securing the final thread brings a real sense of accomplishment to your afternoon. Try working your next version in a muted linen blend to give the garment a more sophisticated drape for evening wear or keep it playful with bright variegated cotton. Upload a photo of your finished top to Instagram or Pinterest to share how the colors turned out. Feel free to browse our main project archive for more beginner-friendly designs that help you expand your technical skills during your next free weekend.