How to Hand Knit a Chunky Blanket: Easy Beginner Pattern
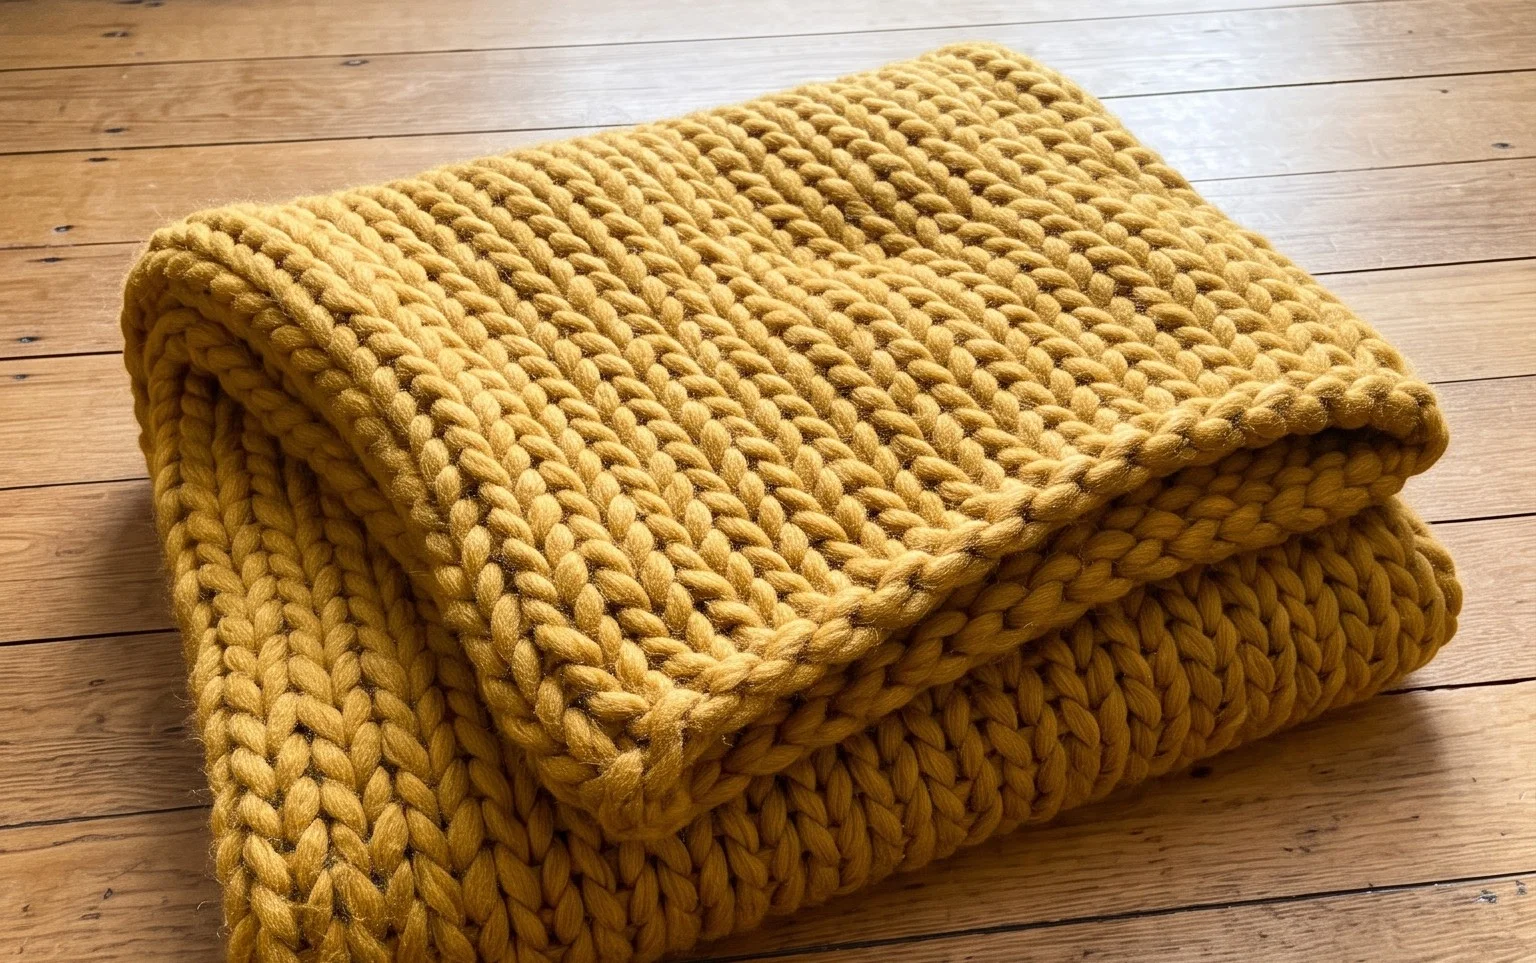
Giant loops of soft merino wool create a weight and texture that feels like a heavy, comforting hug on your shoulders. This project suits anyone who wants a finished throw in an afternoon without needing a single needle or hook. The process relies entirely on your arms to manipulate the yarn into consistent, large stitches that grow rapidly across your lap. You will learn the basic technique for creating foundation loops and maintaining even tension as you work, resulting in a plush, cozy accessory that adds character to any living room sofa or bedroom corner.
Why You’ll Love This Pattern
This crochet ribbed beanie offers a classic, fitted silhouette that sits snugly against the head, providing warmth without the bulk of oversized designs. The construction relies on a simple rectangle worked in rows using the back loop only technique, which creates a natural, stretchy ribbing that mimics high-end knitwear. Because it uses a simple stitch repeat, it is an ideal project for practicing consistent tension while listening to a podcast or relaxing in the evening. The minimal yarn requirement makes it a perfect stash-buster for those half-skeins of worsted weight wool sitting in your craft closet.
I finished this hat in one sitting while watching a movie. The ribbed texture looks so much more professional than the basic double crochet hats I usually make, and it fits perfectly.
— Sarah, hobbyist crocheter
Pattern Overview & Skill Level
- Skill Level: Beginner
- Approximate Time: 3 to 4 hours
- Construction: Flat rectangle worked in rows, folded and seamed to create a tube, then cinched at the crown.
- Finished Dimensions: 18 inches circumference (stretches to 22 inches), 9 inches height.
Materials & Supplies Needed
- Yarn: Worsted weight (#4), wool or acrylic blend, approximately 200 yards.
- Hook Size: 5.5 mm (US I-9).
- Notions: Tapestry needle, locking stitch marker, scissors, and an optional pom-pom maker.
- Yarn Substitutions: You may use cotton yarn, but be aware it will result in a heavier hat with less natural stretch. Using a wool-blend provides the best elasticity and heat retention.
Stitch Guide & Abbreviations (US Terms)
- ch: chain
- sc: single crochet
- BLO: back loop only. Instead of inserting the hook under both loops of the stitch, insert it only under the back loop. This creates the horizontal ridge effect.
- sl st: slip stitch
- st/sts: stitch/stitches
Step-by-Step Pattern Instructions
Main Body
The hat is worked sideways in one large rectangle. You will crochet across the height of the hat, then work back and forth to create the width.
- Row 1: Ch 36. Sc in the second ch from hook and in each ch across. Turn. (35 sts)
- Row 2: Ch 1 (does not count as st). Working in BLO, sc in each st across. Turn. (35 sts)
- Rows 3–60: Repeat Row 2 until the piece measures approximately 18 inches unstretched. Ensure you end on an even number to keep the ribbing consistent.
Assembly and Finishing
After completing your final row, do not fasten off immediately. Leave a 12-inch tail of yarn for seaming.
- Seaming: Fold the rectangle in half, matching the foundation chain edge to the final row edge. Using your tapestry needle and the long tail, sew the two edges together using a whip stitch or mattress stitch.
- Cinched Crown: Once the side seam is secure, weave your yarn tail through the edge of the stitches along the top opening of the tube. Pull the yarn tail tight to gather the top of the hat closed. Secure with a knot on the inside.
- Finishing: Turn the hat right-side out. Weave in all remaining loose ends securely into the fabric to prevent unraveling during wear.
Care & Washing Instructions
- Hand wash in cool water using a gentle wool detergent to preserve the elasticity of the stitches.
- Lay the hat flat on a clean towel to air dry, reshaping it while damp to ensure the ribbing remains even.
- Do not hang the hat to dry, as the weight of the water can stretch the ribbing out of shape permanently.
Pro Tips & Common Mistakes to Avoid
- Consistent tension is the most important element for this pattern. If your tension varies, the ribbing will look uneven; try to keep your hook movements uniform throughout the rows.
- Always place a stitch marker in the first stitch of every row to ensure you do not accidentally skip the final stitch, which would cause your rectangle to grow narrower over time.
- When weaving in ends, follow the path of the stitch to make the transition invisible. Do not pull the yarn too tightly, or it will create a visible dimple in the fabric.
- To adjust the size, simply add or subtract rows of the rectangle. Each pair of rows adds approximately 0.5 inches to the total circumference of the hat.
Frequently Asked Questions
Can I use a larger hook size for a softer hat?
Using a larger hook will make the fabric drapier and softer, but it will also make the hat larger and less wind-resistant. If you increase the hook size, you may need to reduce your foundation chain count.
How do I know if I have enough yarn?
A standard 200-yard skein of worsted weight yarn is sufficient for this pattern. If you choose to add a large faux-fur pom-pom, set aside about 10-15 yards of yarn for the internal cinching or sewing.
Is this pattern suitable for complete beginners?
Yes, this is an excellent first project. It requires only one stitch type, single crochet, and teaches the fundamental skill of working in the back loop to create texture.
Can I sell the hats I make from this pattern?
You are welcome to sell finished items created from this pattern. Please credit the original design when listing your products online or at craft markets.
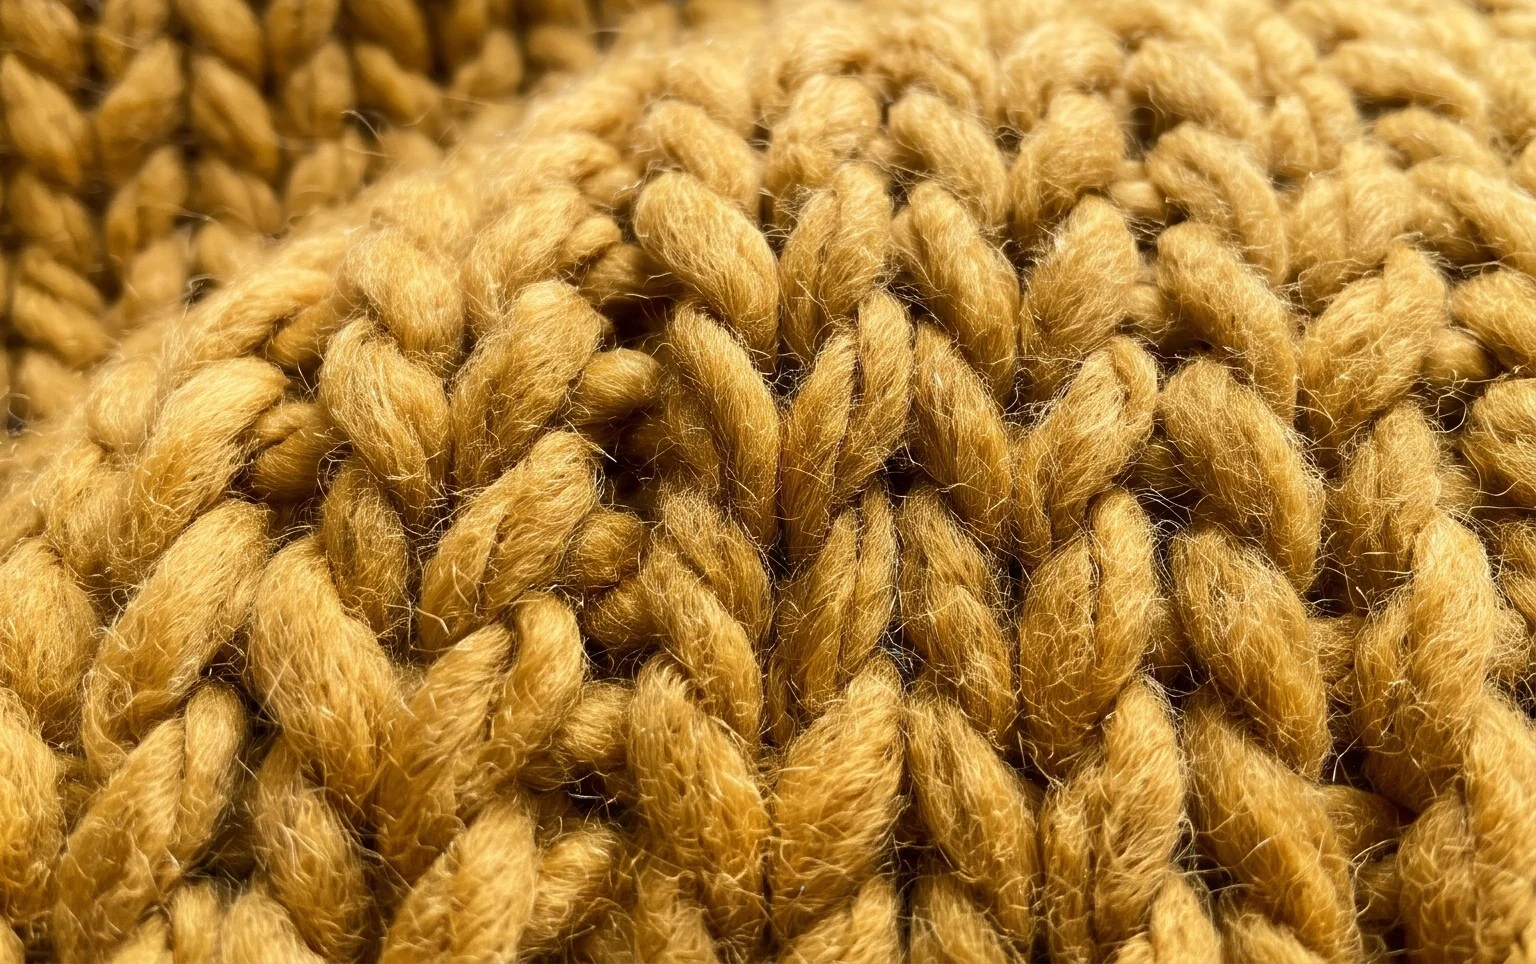
Watching the rows accumulate feels satisfying once that final loop is secure and tucked away. You might try alternating colors every few rows for a striped effect or increasing your foundation width to turn this throw into a queen-sized bed topper. Posting a photo of your finished work on social media helps others find inspiration for their own yarn stash projects. Feel free to browse through the rest of the site for more free patterns to build your collection of handmade home essentials.